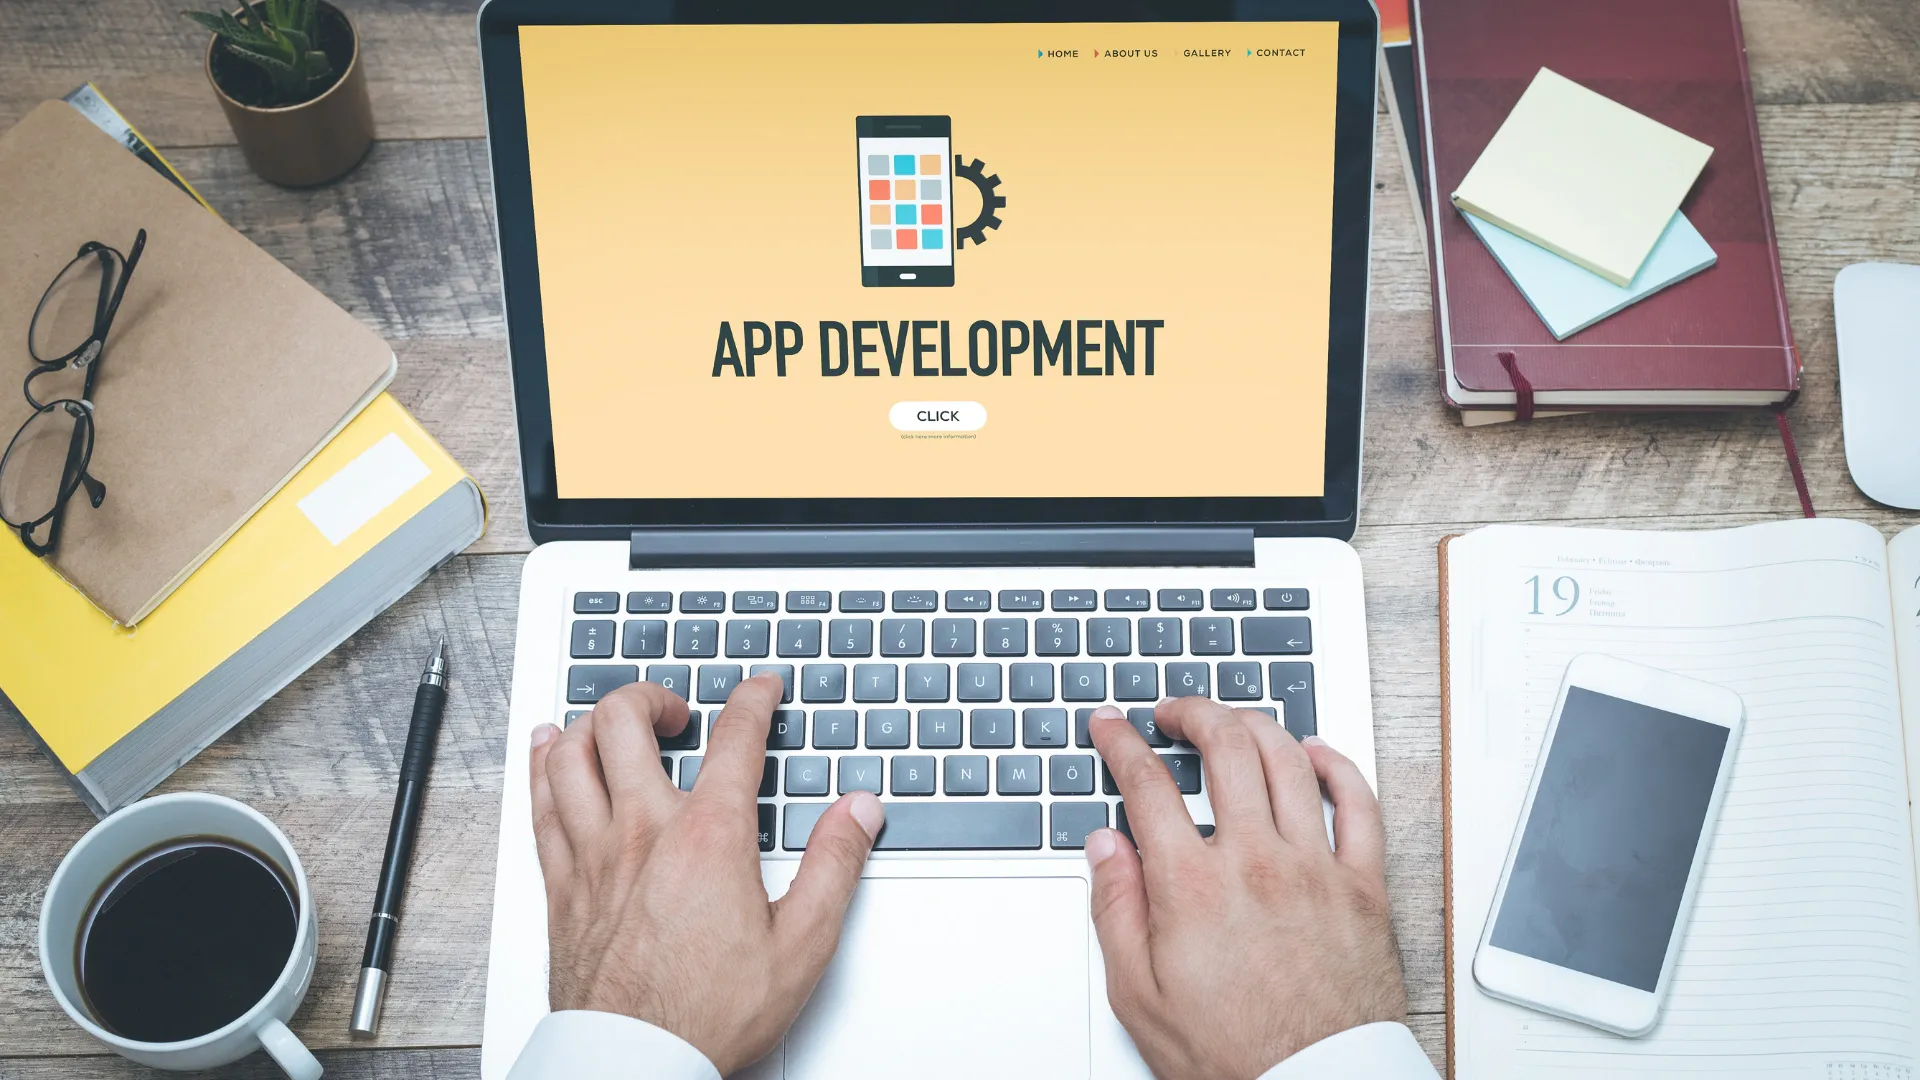
The DIY Guide to iOS App Development: Creating Your Own Mobile App

The allure of creating your own iOS app is strong. Whether it's a passion project, a solution for a problem you face, or a potential business venture, developing an app can be an exciting journey. While it may seem daunting, it's definitely achievable with the right tools, resources, and a dash of perseverance. In this guide, we'll walk you through the key steps involved in DIY iOS app development.
1. Define Your App Idea
Every great app starts with a great idea. Clearly outline the following:
- Purpose: What problem does your app solve, or what need does it fulfill?
- Target Audience: Who are your ideal users?
- Features: What are the core functionalities your app needs to have?
- Value Proposition: What makes your app unique and why would users choose it?
2. Familiarize Yourself with Swift
Swift is Apple's programming language for iOS development. It's designed to be beginner-friendly, powerful, and efficient. There are numerous online tutorials, courses, and books available to help you learn Swift. Invest time in understanding the basics of Swift programming before diving into app development.
3. Get Acquainted with Xcode
Xcode is Apple's integrated development environment (IDE). It's the primary tool you'll use to write code, design your app's interface, test its functionality, and prepare it for distribution. Xcode offers a visual interface builder, simulators for testing on various devices, and debugging tools to help you troubleshoot issues.
4. Design Your App's User Interface (UI)
Your app's UI is crucial to user engagement. Create wireframes or mockups to visualize the layout of your app's screens. Xcode's Interface Builder allows you to drag and drop elements to design your UI visually. Keep Apple's Human Interface Guidelines in mind to ensure your app adheres to iOS design standards.
5. Develop Your App's Logic
This is where your Swift knowledge comes into play. Write the code that powers your app's features and functionality. Utilize Xcode's debugging tools to identify and fix errors in your code.
6. Test, Test, Test
Thoroughly test your app on different iOS simulators and devices. Get feedback from friends, family, or potential users to identify areas for improvement.
7. Prepare for App Store Submission
Create an Apple Developer account and follow Apple's guidelines to prepare your app for submission. This involves creating app icons, screenshots, and a description that accurately represents your app.
8. Consider Partnering with an Expert
While DIY development is possible, it's important to recognize when expertise can elevate your app. iOS app development companies like Associative offer:
- Expertise: A team of skilled developers who understand the nuances of iOS development.
- Experience: Proven track records in building successful mobile apps.
- Time Efficiency: Streamlined processes that can get your app to market faster.
- Customization: Tailored solutions to match your app's unique requirements.
- Quality Assurance: Rigorous testing to ensure your app functions flawlessly.
Conclusion
Building your own iOS app can be a rewarding experience. With dedication, learning, and the right resources, you can bring your app idea to life. Whether you choose to embark on the DIY path or seek the assistance of professionals like Associative, the world of iOS app development is yours to explore.
Services Provided by Associative:
News Website & Mobile App Development
WordPress Design & Development

To learn more, consider reading other articles, blogs, and stories in this area.
